Welcome to THE ALMOST FAMOUS MOM page !
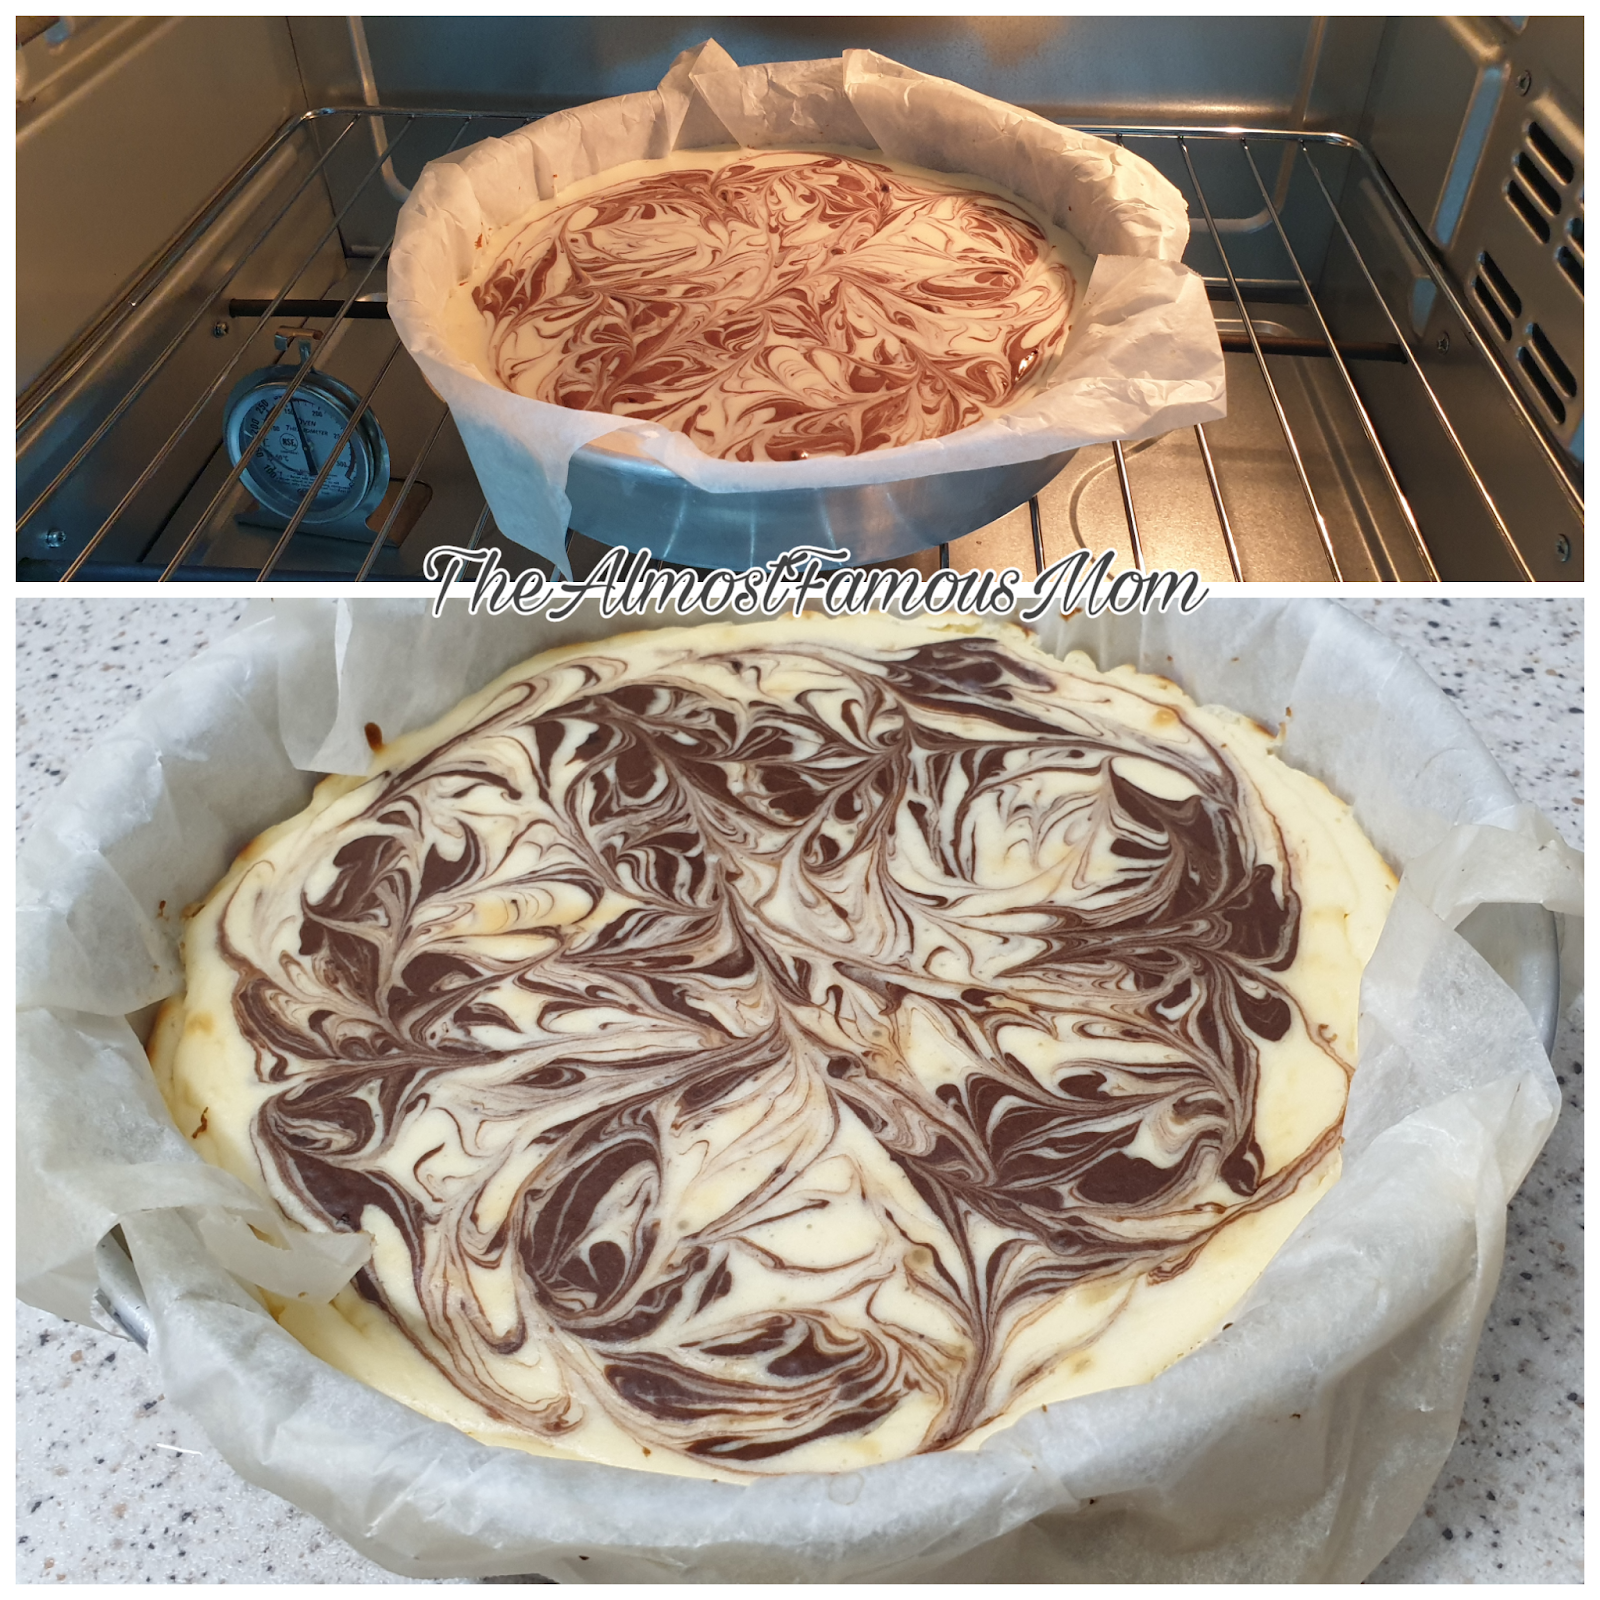
I always love a slice of a rich and creamy cheesecake and this Low Carb Marble Cheesecake is absolutely a go-to recipe - definitely a keeper.

This Low Carb Marble Cheesecake is so creamy and full of flavour, and knowing that it is a low carb, no sugar, wheat-free, grain-free, gluten-free cheesecake, I can enjoy without guilt!
What to expect from this cake? Okay here is the deal, this is a rich baked cheesecake with a decent chocolate swirl and crumbly almond-coconut crusty base.
The marble-effect gives the cake a beautiful touch and added a twist on traditional cheesecake. I'm sure you will be getting lots of "oohs" and "aahs" if you bake this for one of your party - a great showstopper dessert!
Low Carb Marble Cheesecake
(serving: 7-inch cake)
Ingredients:

*Crust*
64 gm Almond Flour
37 gm Coconut Flour
40 gm Butter 
1 tbsp Egg (beaten)

*Filling*
250 gm Cream Cheese (softened, at room temperature)
50 gm Monk Fruit Sweetener (or any sweetener of your choice, you may adjust the sweetness to your liking)
3 tbsp Milk Kefir (you may use Sour Cream)
1 tsp Vanilla Extract
1 Egg
1 tbsp Cocoa Powder

Directions:
  1. Preheat oven to 160°C. Prepare the pan by lining it with baking parchment.
  2. For the crust: In a large bowl, combine the almond flour, coconut flour and butter. Rub the butter and flour to form a crumbly-dough and add in beaten egg. Continue to mix until well combined. Press into a 7-inch pan, pushing the crumbs to cover the pan. Bake the crust at 160°C for 10-12 minutes. Once it's done, set aside to cool.
  3. For the filling: In a large bowl, beat the cream cheese with an electric mixer until just softened. Add sweetener, milk kefir (or sour cream), vanilla extract and egg, and continue beating on medium speed until light and fluffy. 
  4. Remove about 1/3 cup (or more if you prefer more chocolatey marble effect) of the cream cheese mixture into another bowl. Add the cocoa powder and stir until well combined.
  5. Pour the "white" cream cheese mixture into the baked crust, gently tap on the pan. 
  6. Randomly place few dollops of chocolate mixture and use a knife/skewer to gently swirl the mixture to create the marble-effect. (Tips: Just swirl it, do not mix)
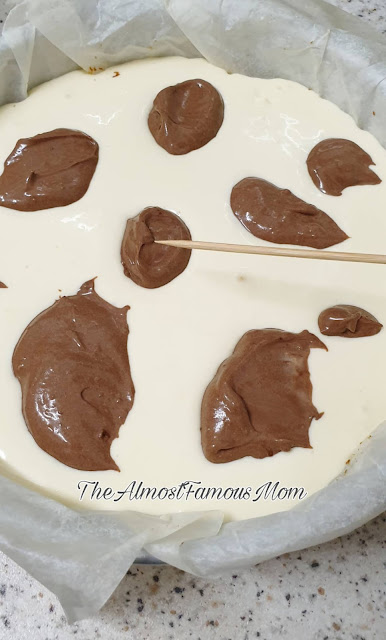
  7. Bake at 160°C for 35 minutes. Remove from oven and let it cool to room temperature. Serve at room temperature or chilled (refrigerate for several hours).
Nothing beats a hearty, gooey and crunchy AirGrilled Cheese Sandwich. All you need is bread, butter and some cheese of your choice....voila....what a perfect comfort food!

With the Philips Airfryer it is so easy to have the perfect AirGrilled Cheese Sandwich that has a golden, crusty outside and oozy inside.
This is an awesome, easy and perfect recipe for me to prepare my lunch as my workload is pilling up and me working real hard to aim for a promotion this year.

Despite all the hardwork...everything can stop while I'm enjoying my piece of AirGrilled Cheese Sandwich!
AirGrilled Cheese Sandwich

2 slices Wholemeal Soft Bread
Shredded/Grated Cheese (I used Cheddar and Mozzarella)
Butter (salted)

Directions:
  • Preheat the Airfryer at 180°C.
  • Generously spread the cheese on one bread then cover it with the remaining slice.
  • Place the sandwich on the grill pan then add a cube of butter on top of the sandwich (helps with browning the sandwich). 
     
  • AirGrill for about 8-10 minutes or until golden brown.
     
A quick and easy snack to prepare for my boy. It is guarantee fresh, healthy and yummy! You will know it right away when you see his face! Lol!
 
Yes, another veggie meal for him.....and he loves it!

Snack-time: AirBaked Stuffed Tomatoes and Broccoli

1 Organic Tomato (preferably big size)
1/4 cup Cheddar Cheese (grated)
1/4 cup Broccoli (chopped)
4-5 florets Broccoli
Butter (unsalted)
Pinch of Natural Country Herbs

Directions:
  • Preheat the Airfryer at 180°C
  • In a small bowl, combine together the chopped broccoli and grated Cheddar cheese.
  • Cut the top of tomato away and scoop out the pulps and seeds.
  • Stuff the tomato with the broccoli and Cheddar mixture and place into the Airfryer basket.
  • Put the florets of broccoli into the Airfryer basket and add some butter on top.
     
  • Let it AirBaked for about 12-15 minutes.
  • Sprinkle with herbs on the melted cheese and serve! Yum!
     
     
I love toast but not the hard and crunchy ones (crumbs flying everywhere after every bite), I love my toast to be crunchy on the sides and cottony soft on the center with a layer of heavenly melted cheese. Because of the sudden craving for Cheese on Soft Toast so I decided to bake a fresh loaf for the toast.

Baked a loaf of Milky Soft Bread using the bread maker. This bread is very soft and not too fluffy, small and short loaf. Perfect for a small family like mine! Hmmm.....now I just can't wait for the toast and melted cheese!
Milky Soft Bread

175gm Fresh Milk
2 tbsp Condensed Milk
40gm Butter
2 tbsp Sugar
3/4 tsp Salt
12gm Milk Powder
220gm Bread Flour
30gm Cake Flour
1 tsp Yeast

Directions:
  • Put all the ingredients in the bread maker pan following the order given in your manufacturer's manual or in the order listed here.
  • Set the bread maker for Sweet mode and 1.5lbs with Light crust setting.
  • Turn the loaf out once it is done. Let it cool before slicing the bread. 

Cheese on Soft Toast

2 slices of Milky Soft Bread
1/2 Cup of Grated Cheddar Cheese
A dash of Mixed Herbs

Directions:
  • Preheat the AirFryer at 160°C.
  • Sprinkle the grated Cheddar cheese on the two slices of bread.  
  • Place it on the frying basket and let it toast in the AirFryer for about 3 minutes.
  • Pull out the tray then sprinkle the toast with the mixed herbs (by now all the cheese should be melted but not browning yet).
  • Let it toast for another 3-5 minutes, until the cheese has turn golden brown.